

A couple of weeks ago I taught my very popular sugar addiction class, "Sugar Blues" where for 90 minutes I turn on a fire hose of information about how sugar feeds cancer cells, causes mental health issues, and is more addictive than cocaine. In class, we examine hidden sugars found in supposedly healthy foods. One culprit is yogurt. The American Heart Association recommends for women no more than 100-150 of your daily calories from added sugars. One gram of sugar is 4 calories so that's 25 grams of sugar per day. Americans, on average, consume over 100 grams of sugar per day. That's four times the recommended amount!!!!! In class, I handed one of the students an empty organic lemon-flavored non-fat yogurt. She gasped as she read it has 20 grams of sugar in it. That's almost all of your recommended daily sugar intake in one seemingly innocent container of 8-ounce yogurt.
Brian, also known as dear darling husband, started making his own yogurt last fall. He calculated that even with the purchase of a yogurt maker, a quart of milk is much cheaper than a quart of yogurt. He eats yogurt with overnight oats almost every morning for breakfast. That's a lot of yogurt. He also figured that if he started making his own yogurt, he could achieve better flavor, and that has been true. Brian agreed to share his recipe, which he says is more of a method. As a bonus, he threw in a Q&A section at the bottom to answer the most common questions he receives when people discover he makes his own yogurt.
By the way, this post is not intended to make you feel bad if you don't want to tackle making your own yogurt. Instead, let it inspire you to check for hidden sugars in your food. It's amazing how often it lurks in food labeled "natural" or "healthy," both terms largely unregulated by the Food & Drug Administration.
How to Make Yogurt 101 by Brian Johnson
Scroll down past the Method to find a gallery of useful photos followed by Frequently Asked Questions about making homemade yogurt.
What you need:
- One quart of milk not ultra-pasteurized
- Yogurt to use as starter
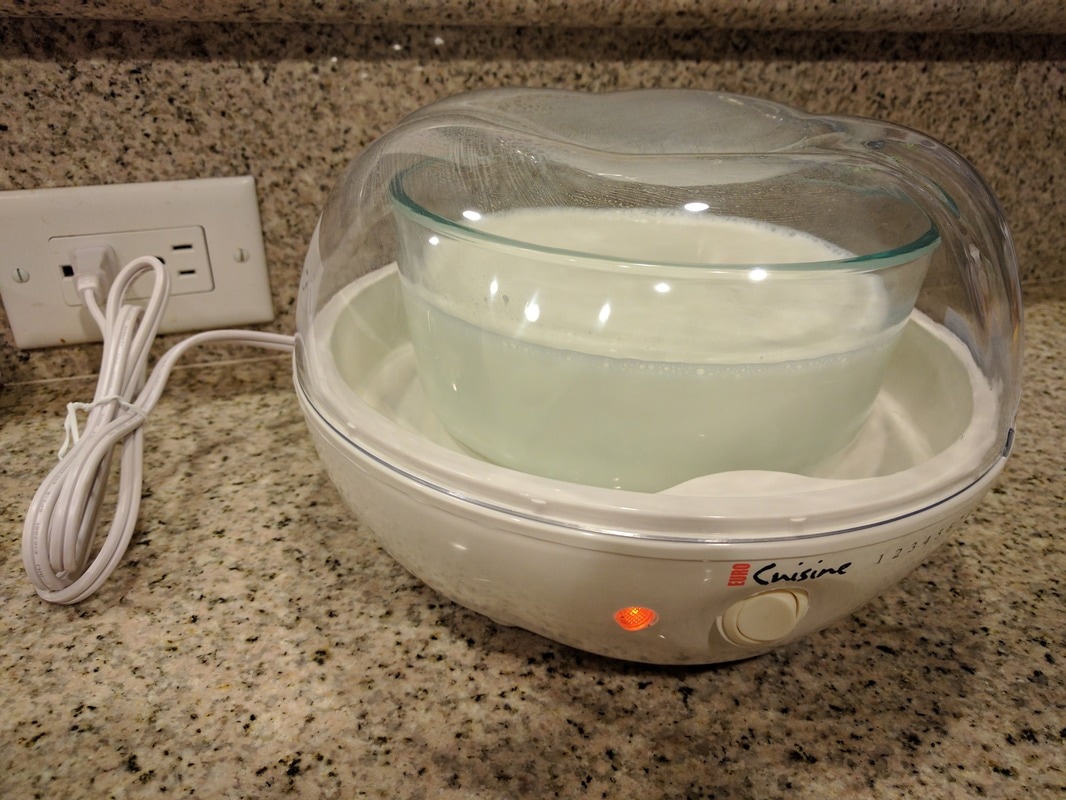
- Yogurt maker (such as Euro Cuisine YM80)
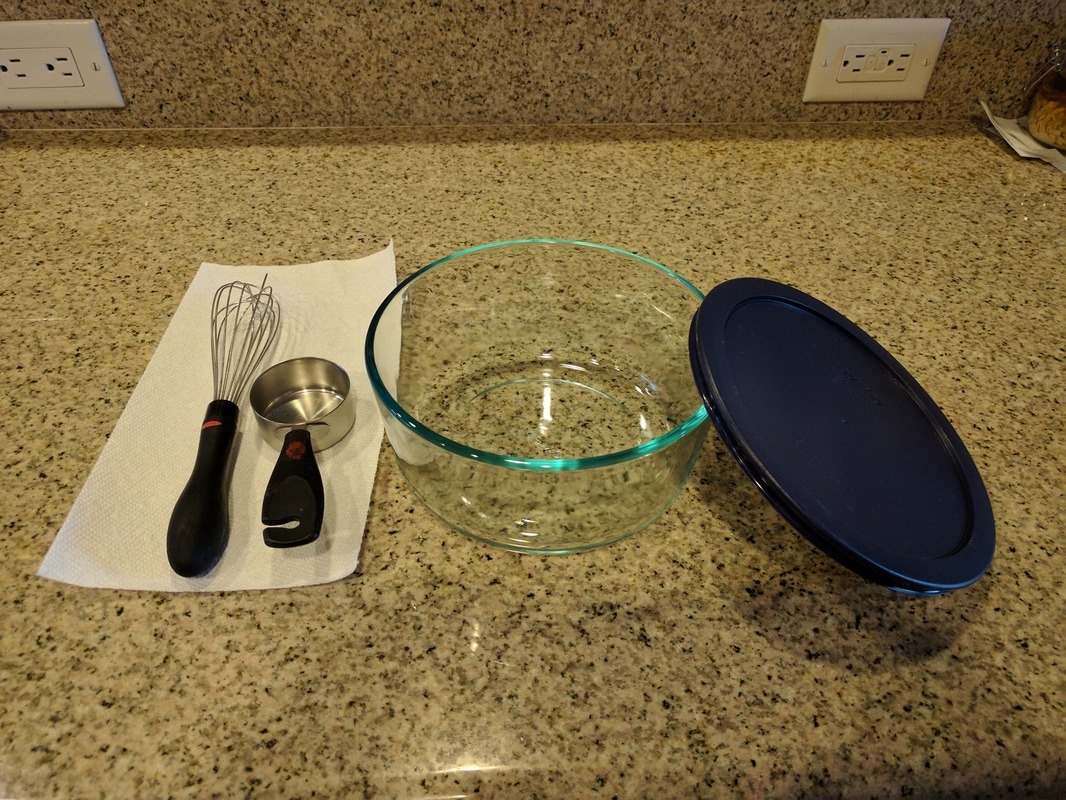
- Medium saucepan with lid or double boiler
- 1.75-quart (7-cup) glass bowl with lid (like this one)
- Immersion thermometer
- Quarter-cup measure
- Small whisk
- Vodka
Method:
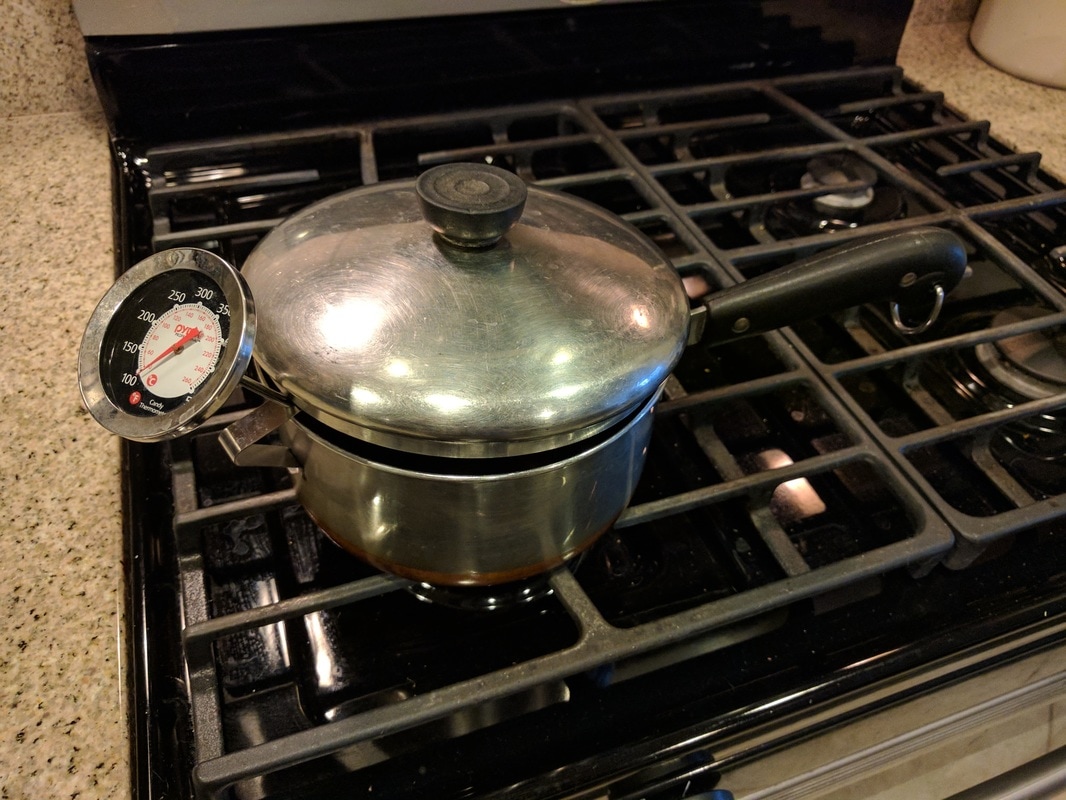
- Attach immersion thermometer to saucepan or double boiler. End of thermometer should be about a half-inch above the bottom of the pan.
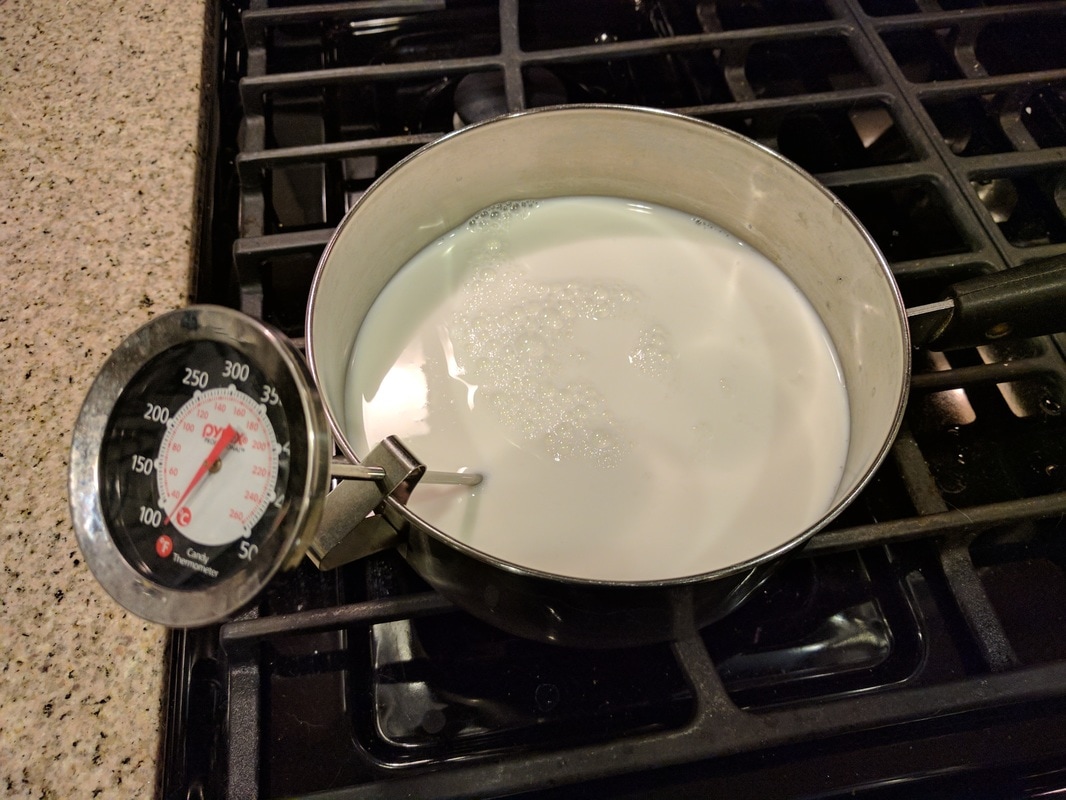
- Pour one quart of milk into saucepan with immersion thermometer attached.
- Place saucepan over low heat, place cover on as well as you can with the thermometer attached to the saucepan, and warm to 180-190 degrees. If your stove is too hot, the milk will form a crust on the bottom of the pan, so keep it low. It will take some time to heat to 180-190 degrees. Be patient.
- When the milk reaches 180-190 degrees, turn off heat, remove cover, and allow to cool to 110 degrees. This will take quite a while. Again, be patient. Go walk your dog, take a shower, have a glass of wine, or whatever you need to do, but do not stand there watching the thermometer. If it goes below 110 because you had a second glass of wine, that's okay.
- While your milk is cooling, pour a small amount of vodka (about an ounce or two) into a small bowl or saucer. Wet a paper towel in the vodka and wipe your glass bowl, your quarter-cup measure, and your whisk with it to sterilize them.
- You can mix the remaining vodka 1:2 with tonic water and have a nice vodka & tonic while waiting for your milk to cool. Or just pour it out.
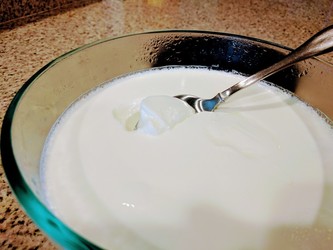
- When the milk has reached 110 degrees, pour it into the glass bowl, add 1/4 cup of yogurt, and whisk thoroughly.
- Place milk-yogurt mixture (without the lid on the glass bowl) into your yogurt maker, place the cover on the yogurt maker, turn it on, and leave for about eight hours or so. I find it works well to start the process before bed, leave it overnight, and I have finished yogurt when I wake up in the morning.
- After incubating for eight hours or so, remove from yogurt maker, place lid on glass bowl, and place in fridge to cool.
- Next time you make yogurt, you can use this batch as a starter. You never have to buy yogurt again!
Frequently Asked Questions:
Q: Why can't I use ultra-pasteurized milk?
A: Ultra-pasteurized milk has preservatives which will kill the yogurt culture.
Q: What if I don't heat the milk before making my yogurt?
A: Heating the milk does two things: (1) It sterilizes the milk so that there are no "bad" bacteria competing with the yogurt culture, and (2) It modifies the proteins in the milk so that your yogurt will be nice and thick, instead of thin and runny.
Q: What if I don't cool the milk before adding my yogurt starter?
A: If it's too hot, you'll kill the yogurt culture.
Q: What yogurt do you recommend starting with?
A: My favorite is Stonyfield Organic. This is purely personal preference.
Q: Can I really never buy yogurt again? Never?
A: Yes, if you can manage not to let your yogurt sit too long in the fridge and spoil, you can keep using your homemade yogurt as starter for each new batch forever.
 RSS Feed