
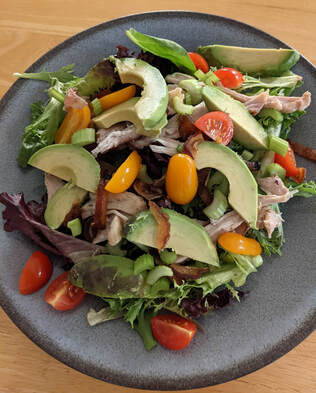
When it is hot and humid and sticky outside -- what more than one neighbor here in North Carolina has referred to as "Hell's Front Porch" -- the last thing we want to eat is something hot and heavy. Instead, we opt quite often for a very big salad. It's quick, it's delicious, and it's satisfying.
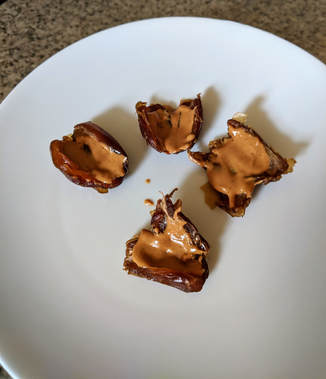
The Big Summer Salad has its origins in summer visits to see my mom when she was living in Denver. She'd pick me up at the airport and we would head straight to the Cherry Creek Grill to split a Macho Salad and a dessert. That salad showed me that a glorious dinner salad has protein and fun textures (crunchy nuts) and something creamy plus lots of vibrant colors. And a surprise. A good salad can become great with an element of surprise. In the case of the Macho Salad, the surprise was chopped dates. And I don't mean the sugar-coated, pre-packaged dates. I mean the real fruit from a palm tree somewhere in the California desert.
I've played with the formula to create my own salad, what I call The Big Summer Salad. And I am presenting a recipe for it here. But this is more than a recipe. This is an invitation for you to play with your food and come up with your own version of The Big Summer Salad. What flavors speak to you? What textures make eating fun and pleasurable for you? What colors do you want on the plate so it's a joy to the eye?
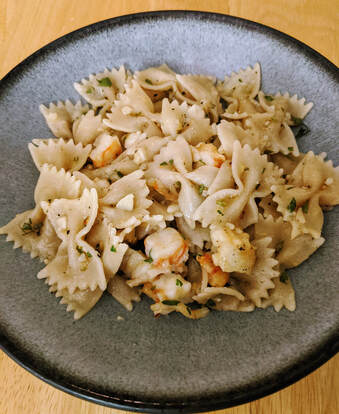
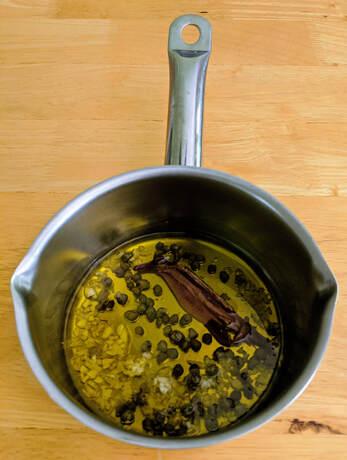
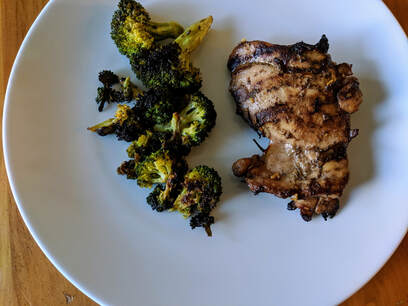
We always eat The Big Summer Salad with a vinaigrette made of 1/3 cup good quality aged balsamic vinegar and 3/4 cup good quality extra virgin olive oil mixed in this cruet. We keep the flavor of the dressing simple so the salad ingredients can shine. This salad is a good repository for leftover chicken or even leftover grilled shrimp. If you've got a random carrot rolling around in the vegetable drawer, then grate it and toss it in. If you love cheese, well so does this salad. I tend to skip it, but my husband loves topping his with goat cheese. Again, this salad is really flexible. Consider all amounts listed in the recipe below as suggestions.
The Big Summer Salad
Serves 4 and can easily be doubled to feed more
8 ounces spring mix
2 cups of cooked chicken, shredded or protein of your choice
1 pint of ripe cherry tomatoes, either halved or quartered
1 cup or so of thinly sliced cucumber
1 cup of diced celery
2/3 cup fresh dates (I like Medjool), pitted and chopped
1 large or 2 small avocados, peeled, pitted, and thinly sliced
Optional add-ons:
- Cheese, either grated, crumbled, or sliced with a vegetable peeler
- Nuts (I like toasted sliced or slivered almonds)
- Chopped cooked bacon
- Whatever sounds, looks, and tastes good to you. It's your salad!
For each salad, place a huge handful of spring mix on a dinner plate. Next, sprinkle the chicken over followed by the tomatoes, cucumber, and dates. At this point, add any of the optional items. Very last, top with the avocado slices. Drizzle the dressing over the salad. Hot tip: use a steak knife and fork to cut up the salad, and enjoy!

 RSS Feed